


This process proved to be quite a barn burner. I had to document with photos and notes every step of the deconstruction so that I would later be able to reconstruct the chair. One interesting part of this chair's anatomy was his horse hair arms. This find really showed his age...

And look what I found under his saddle! There were pencils, candy wrappers, paper clips, sculpting tools, Teddy Grahams, and lots of dirt.

In fact, my husband couldn't stand the smell of this chair, and began helping me get the fabric off in hopes the smell would dissipate. It did, thank goodness.
Here are the old, broken springs. They were hilarious!

I finally got down to the bare bones and had a clean slate to work with. Installing new springs was the hardest part of this job, and I don't ever want to do it again! Next time I'll buy an already assembled spring unit.


After the hand tying of the springs, I felt I had accomplished something special. Like climbing Mt. Everest, this was monumental! This is when I learned that upholstery required the wearing of gloves. My fingers were killing me. The next couple pictures show the rest of the process. The way down the mountain was challenging, but much easier.


This picture of the arm panel shows that this chair is on it's third make-over. The original fabric was a red velvet. The second was a flowery, plastic material probably put on in the '70s.

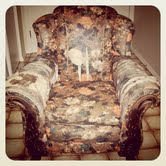
It's time for ...the before and after!
Before...

And after...
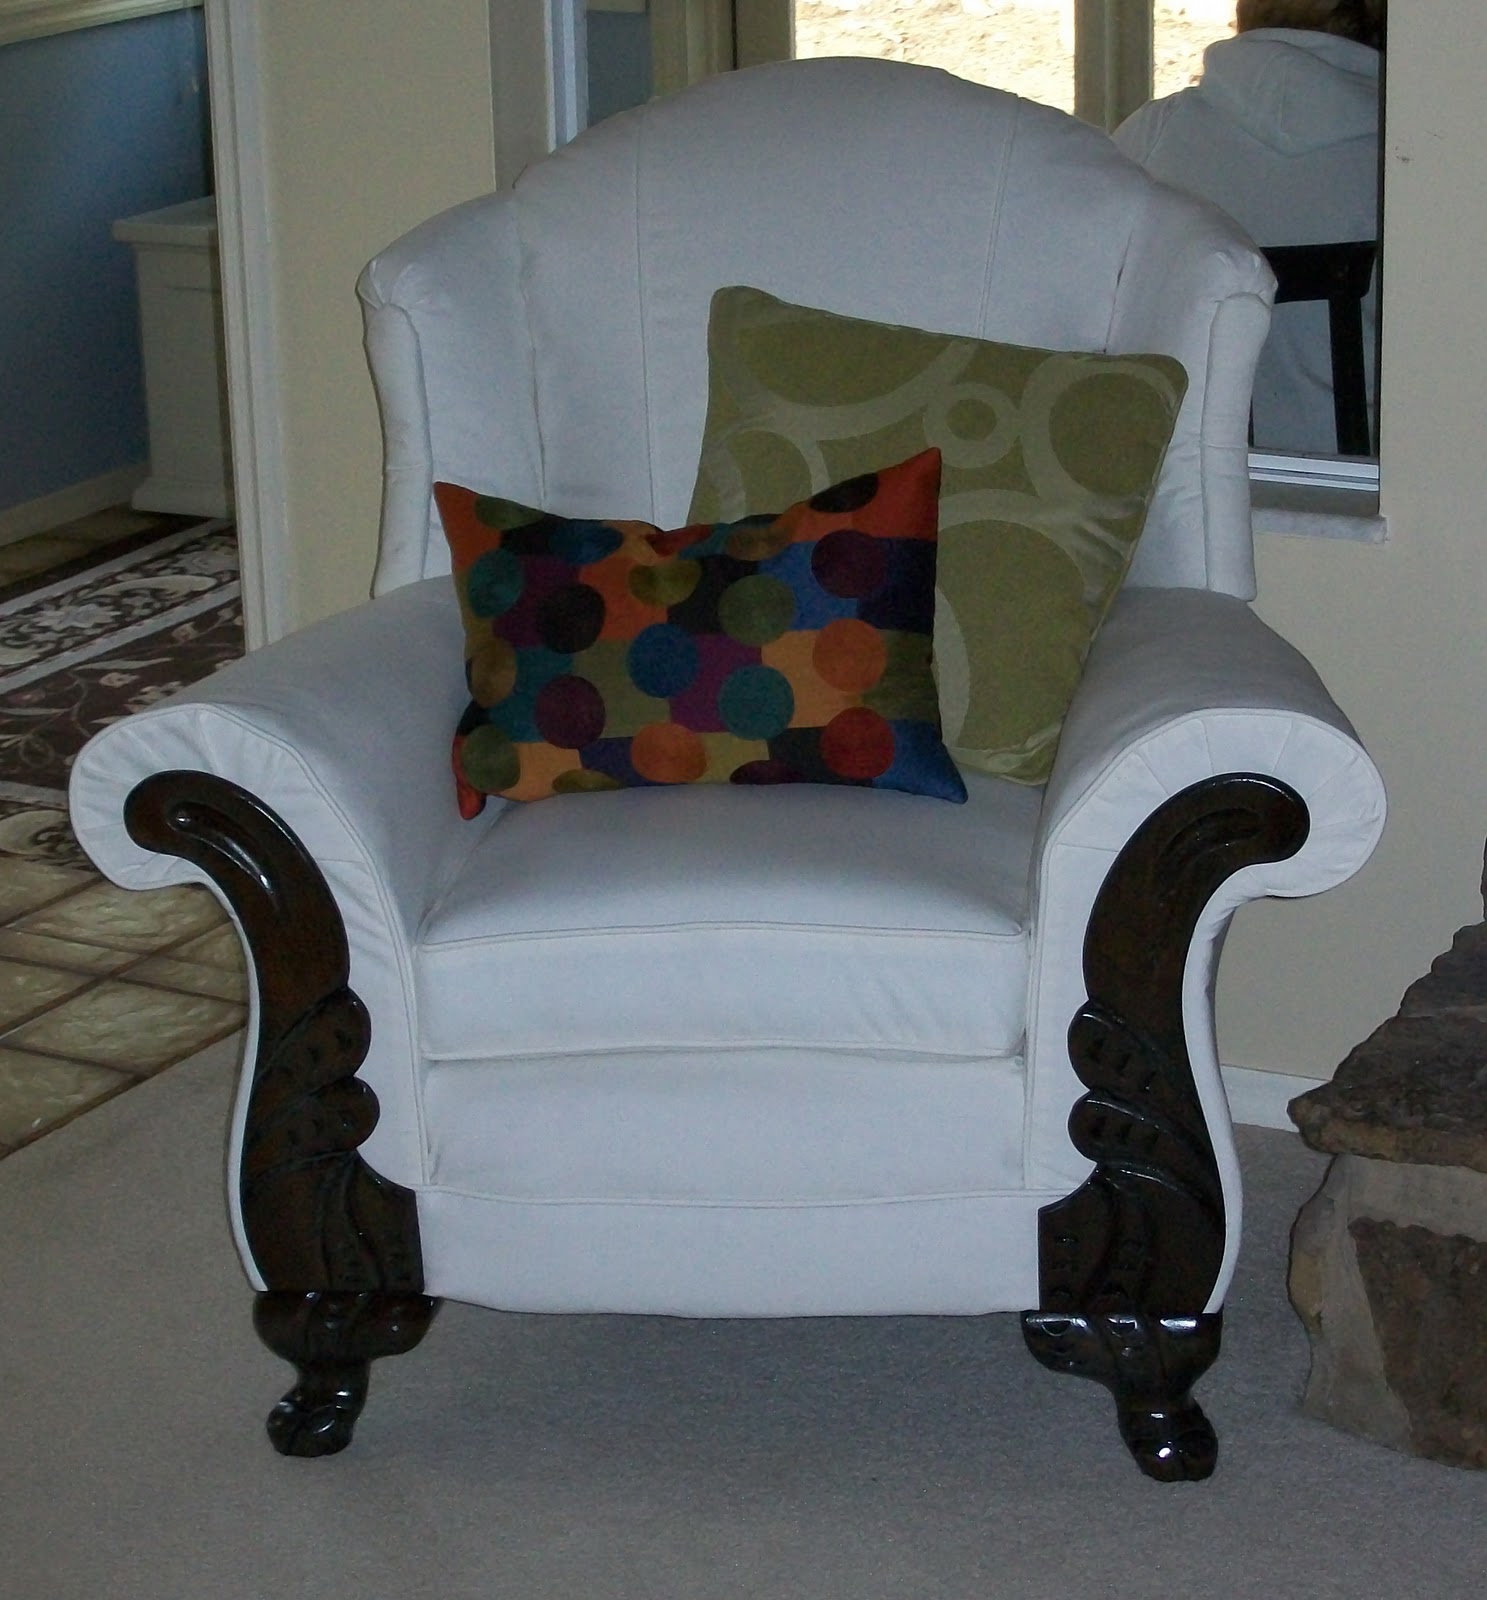
This project, my first ever, took me from August to February (about six months) of nights and weekends to finish. Most people would probably say "check one off the bucket list". However, this gal was just getting started. We really do use this chair in our house, and people really do sit in it safely. I do need to put fabric protector on it to protect from stains. Closing the book on this one felt good. On to the next chair!
- Jessica
No comments:
Post a Comment